Happy Baby Pose yoga gives beginners a gentle way to boost flexibility and reduce stress. Sanskrit practitioners call it Ananda Balasana. This calming posture works on multiple muscle groups like inner thighs, hamstrings, and back. Studies show that people who practice yoga three times weekly for eight weeks feel substantially less stress and anxiety. Yoga instructors often include this pose at the start or end of sessions. This makes it perfect for both warming up and cooling down.
The pose helps decompress the sacroiliac joints and releases tension from the spine and sacrum. Beginners find Happy Baby Pose a great way to improve their spinal alignment. The pose offers many benefits – it stimulates the digestive system, relieves lower back pain, and promotes overall well-being.

Table of Contents
- 1 What is Happy Baby Pose in Yoga?
- 2 How to Do Happy Baby Pose Step-by-Step
- 3 Benefits of Happy Baby Pose Yoga
- 4 Common Mistakes and How to Fix Them
- 5 Variations and Modifications for Beginners
- 6 Here are some FAQs about the happy baby yoga pose:
- 6.1 What is a happy baby yoga pose good for?
- 6.2 Why is it called a happy baby?
- 6.3 What yoga pose gets rid of trapped gas?
- 6.4 What chakra is happy baby?
- 6.5 What is the best position to relieve trapped wind?
- 6.6 What is a downward dog good for?
- 6.7 Who should not do a happy baby pose?
- 6.8 What is the final resting pose at the end of a yoga practice called?
- 6.9 Why is child pose difficult?
What is Happy Baby Pose in Yoga?
Ananda Balasana stands out as one of the most available yet meaningful postures in today’s yoga practice. This modern addition has become incredibly popular because it’s simple and works well, unlike many traditional poses from ancient hatha yoga texts. Let’s dive into what makes this seemingly simple pose so special.
The meaning of Ananda Balasana
The Sanskrit name Ananda Balasana (pronounced Uh-NUHN-duh Buh-LUH-suh-nuh) comes from three distinct roots that show its true nature. “Ananda” means “happiness” or “bliss,” “bala” means “child” or “baby,” and “asana” means a “pose” or “posture.” The literal translation becomes “Blissful Child Pose” or as most people call it, “Happy Baby Pose.”
You might hear some people call this posture “Dead Bug Pose” because of how the hands and feet look during practice. The Sanskrit name focuses on the joyful, playful nature of the posture rather than how it looks.
The name also connects to deeper yogic philosophy. Some traditions say a person’s divine potential awakens when they learn to control their mind and senses through meditation. The Bhagavad Gita (2.50) states, “Yoga karmasu kaushalam,” which means “yoga is skill in action.” Our body-mind complex enters a state of yoga and enlightenment when it acts skillfully – just like a happy baby seeing the world with fresh eyes.
Why it’s called ‘Happy Baby’
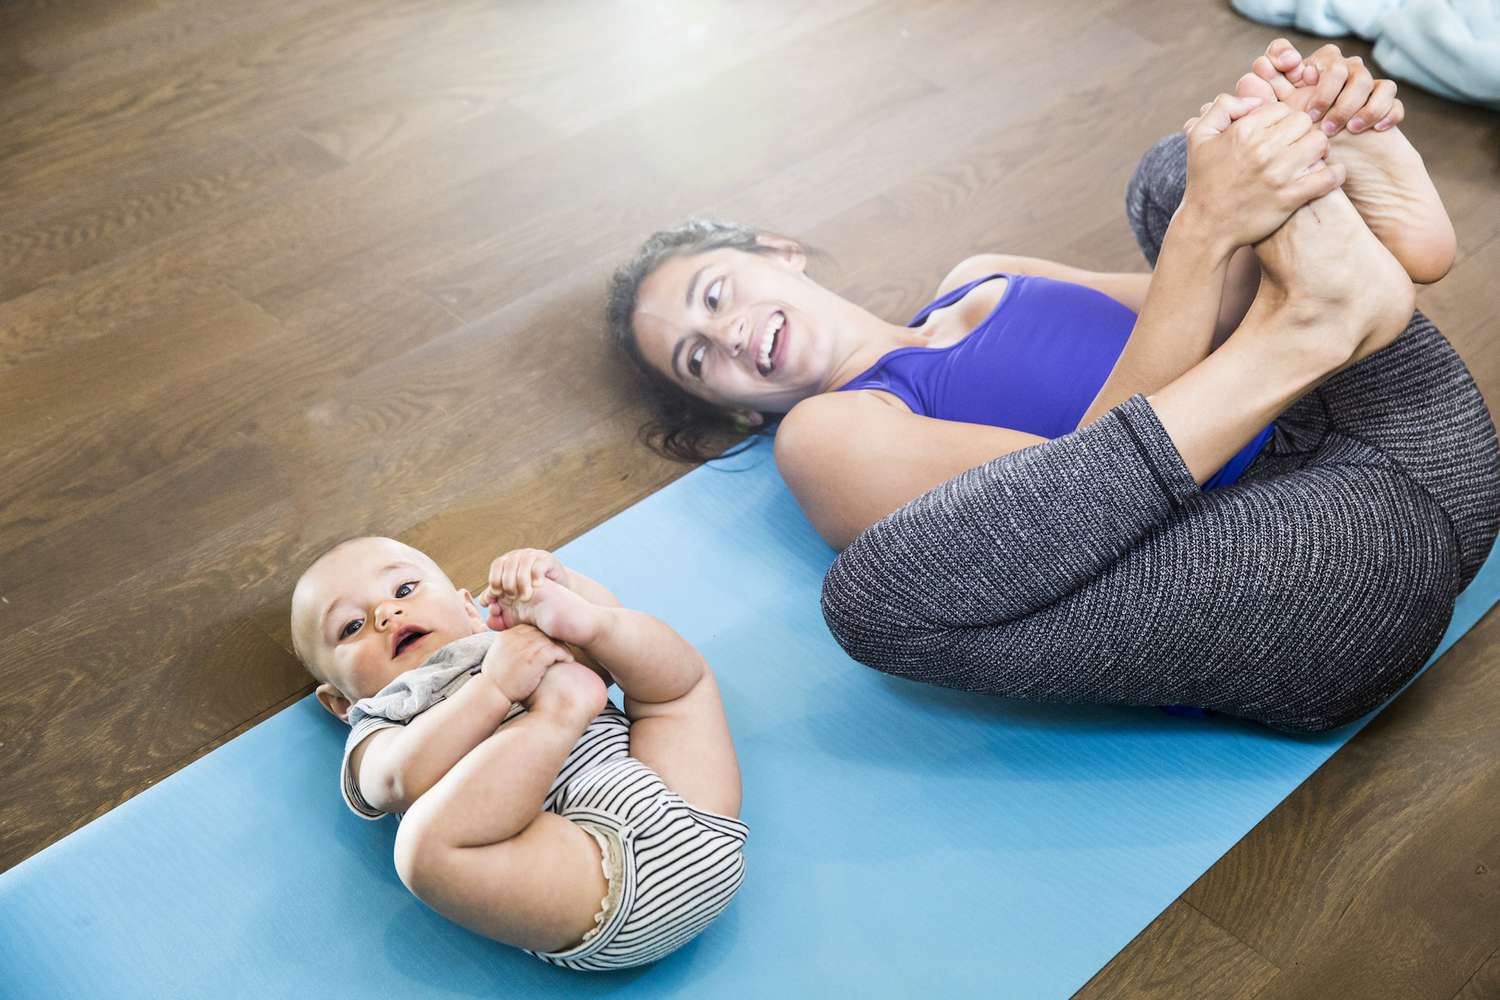
The pose got its name because it looks just like babies lying happily on their backs. To name just one example, see how babies naturally play with their feet and legs while lying down – they show pure joy and fascination in this discovery.
The position mirrors how infants grab their toes while on their backs and rock side to side with natural curiosity and playfulness. Many people find this rocking motion deeply satisfying as it gently massages their spine and hips.
The posture helps us reconnect with our childlike wonder and openness. This pose helps us connect with what yoga teachers call our “divine child” – the part of us that sees the world without assumptions, finds joy in simple movements, and loves to explore playfully.
When and why it’s used in yoga classes
Happy Baby Pose’s gentle nature makes it perfect for key moments in yoga sessions:
- Beginning of class: To warm up the body, particularly the hips and hamstrings
- End of practice: To wind down before final relaxation (Savasana)
- Counter-pose: After more intense postures like backbends, twists, or standing poses
- Preparation: Before seated poses that require open hips
Teachers include this asana because it offers multiple benefits while staying available to most students. The pose stretches your inner thighs, hamstrings, and groin areas. It also engages your chest, shoulders, and arms. Your spine gently lengthens, lower back tension melts away, and your sacrum gets more space.
The pose’s real value lies in its power to calm both body and mind. Your nervous system relaxes with the gentle opening of tight areas and slight rocking motion, which helps reduce stress and tiredness. People who sit at desks or in cars for long hours find welcome relief from hip and lower back tension in this pose.
Happy Baby Pose might look simple, but it offers deep benefits that make it valuable for everyone – from complete beginners to advanced practitioners who need rest between challenging sequences.
How to Do Happy Baby Pose Step-by-Step
Becoming skilled at the step-by-step technique for happy baby pose yoga builds a foundation that helps you arrange your body properly and get maximum benefits. This gentle posture works well when you pay attention to details that ensure safety and optimal muscle stretching.
1. Starting position and alignment
Lie flat on your back on a yoga mat or comfortable surface. Make sure your spine arranges properly while your body stays relaxed. Keep your legs extended and arms beside your body at first. Take a few deep breaths to center yourself before you start the pose.
Your head, neck, and shoulders should rest against the mat as you prepare. Keep your spine and sacrum in contact with the floor throughout the pose. This base position lets you get the best hip-opening benefits.
2. Hand and foot placement
Bend your knees toward your chest when you exhale. Open your knees slightly wider than your torso and bring them up toward your armpits. Place your ankles right over each knee to create a 90-degree angle with your legs. Your shins should stay perpendicular to the floor.
Reach between your bent legs and grab the outside edges of your feet with your hands. You can also hold:
- The inside of each foot
- Your ankles or shins if reaching your feet feels challenging
- Your big toes using a “toe lock” (middle and index fingers over the top with thumb around the base)
Let your elbows fall naturally inside your knees. Keep your feet flexed and active to engage your leg muscles for a stable position.
3. Breathing and holding the pose
Focus on your breath once you position yourself correctly. Take deep, steady breaths while you hold the pose. Feel your pelvic floor muscles lengthen and release with each inhale – picture a flower opening up. Stay relaxed during exhales instead of contracting.
Push your feet up into your hands while pulling down with your hands to create gentle resistance. This balance helps deepen the stretch without strain. Watch your lower back – it should stay flat against the mat without arching.
Stay in this position for 30-60 seconds or 6-8 complete breaths. Let the stretch deepen naturally as you breathe.
4. Optional rocking motion
Rock gently from side to side like a happy baby to boost the benefits. This motion gives your spine and sacrum a soothing massage. Control your movement and avoid jerky motions.
Keep your tailbone connected to the floor during this rocking. Don’t let it curl up toward your face. This controlled movement releases lower back tension while you stay properly arranged.
5. How to exit the pose safely
Stop any rocking motion first. Release your grip on your feet gently as you exhale. Bring your knees back together and hug them close to your chest.
Extend your legs back to the starting position slowly. Notice how different your body feels between the stretched and relaxed state. Reach your arms overhead for a full-body stretch before you move to your next pose.
Benefits of Happy Baby Pose Yoga
The happy baby pose yoga looks playful but packs powerful physical and mental benefits. This gentle yet effective position works multiple muscle groups at once. You’ll find it’s the quickest way to improve your yoga practice.
Stretches hips, hamstrings, and inner thighs
This pose opens your hip joints actively and improves blood flow in your pelvic region. The pose works great if you have to sit at desks or in vehicles for hours, giving your body much-needed relief from tension.
Your body gets a deep stretch in several key areas:
- Inner thighs and groin muscles
- Hip flexors and abductors that control hip rotation
- Hamstrings along the back of your legs
These muscles release gradually as you hold the position, which helps improve your leg mobility and motion range. You’ll notice you can walk, run, and move your legs more easily.
Improves spinal alignment and posture
The gentle rocking motion helps align your spine, which leads to better posture and less back stiffness. This rocking feels like getting a massage that gives your back and hips the attention they need.
The sacrum (triangular bone connecting spine and pelvis) widens as you hold this position. Regular practice tones your spine and improves your posture, which helps prevent rounded shoulders.
Relieves lower back tension
One of the most important benefits is how this pose helps with lower back discomfort. Lying on your back and stretching gently releases tension effectively.
Your lumbar curve temporarily flattens when you round and press down the lumbar and sacral areas. This action decompresses your lower spine, which works especially well after other yoga poses, like backbends and twists.
Calms the nervous system
The pose activates your parasympathetic nervous system—known as the “rest and digest” system. Your heart rate slows down and your body conserves energy, creating a sense of calm and well-being.
Calm breathing during the pose helps reduce stress and anxiety levels. Yes, it is the combination of gentle movement and focused breathing that creates a chance to be mindful and build a stronger mind-body connection.
Supports pelvic floor health
You can access and strengthen your pelvic floor muscles through this pose. When combined with controlled belly breathing, you learn to relax these muscles, which helps especially when you have postpartum recovery needs.
The pose boosts blood circulation in your pelvic floor, which stimulates and improves organ function in this area. The stretch in your inner thigh muscles connected to the pelvic floor might help relieve pelvic floor dysfunction.
Regular practice releases stiffness from your pelvic floor and hips. This increases the flexibility of your pelvic joints and creates foundations for better physical function overall.
Common Mistakes and How to Fix Them
You need mindful attention to form and arrangement even for the simplest yoga poses. Happy baby pose might have a playful name, but you just need proper technique to avoid potential risks. Let’s look at these common mistakes to help you get the most benefits while staying safe.
Lifting the neck or shoulders
Your head or shoulders might naturally lift off the mat when you reach for your feet. This puts unnecessary strain on your neck and closes your chest area.
To fix this mistake:
- Press the back of your neck flat toward the ground
- Keep your shoulders touching the mat throughout the pose
- Hold your ankles, calves, or shins if reaching for feet strains your neck
- Add a small folded blanket under your head for extra support
Note that your shoulder’s outer edges should press downward. This creates a flat upper back and open chest position that lets you work without hurting your neck vertebrae.
Overarching the lower back
The lower back and tailbone often lose contact with the mat. This compresses your spine and makes the stretch less effective.
For the right form:
- Push your tailbone forward and down toward the mat
- Feel your entire spine from tailbone to head connect with the yoga mat
- Don’t “balance” on top of your spine during this pose
- Bring your knees closer to your armpits if you can’t maintain contact
This extension creates a massage-like feeling in your lower back—one of the key benefits for beginners.
Gripping the feet too tightly
Tight hand grip while holding your feet works against the relaxing benefits of this pose. Many people grip too hard trying to deepen their stretch.
Here’s what to do:
- Hold the outside edges of your feet firmly but gently
- Let your hands be receptive rather than forceful
- Create resistance by pushing up with legs while pulling down with hands
- Loop a yoga strap around each foot if direct holding causes tension
This balanced approach gives you an effective stretch without creating extra tension in your body.
Forcing the knees too far
People often try to push their knees wider or lower because they misunderstand the pose’s purpose. The goal is gentle opening, not extreme stretching.
Try this instead:
- Keep your hips soft and relaxed
- We focused on flexibility here, not building strength
- Let your shoulders, spine, and hips soften into the stretch
- Work within your current range of motion without comparing yourself to others
This pose works best when you take a patient approach that respects your body’s natural limits.
Variations and Modifications for Beginners
Beginners can enjoy yoga’s benefits by adapting traditional poses to match their flexibility level. These happy baby pose modifications let everyone practice safely while they build strength and mobility gradually.
Using a yoga strap or towel
A yoga strap comes in handy if tight hips or hamstrings make it hard to reach your feet directly. You can loop the strap around both feet’s arches and hold one end in each hand. This extra length lets your shoulders stay flat on the mat while creating gentle resistance.
Put the strap across the middle of each foot and let the ends hang down. You can adjust your hands on the strap until you find the perfect balance between stretch and comfort. This change gives you the same benefits as the traditional pose but works better if you’re less flexible.
Holding ankles or shins instead of feet
You can also modify the pose by grabbing your ankles or shins rather than your feet. This simple change works great as a starting point for beginners trying happy baby pose.
Here’s how to do this version:
- Pull your knees toward your chest like in the standard pose
- Reach for your outer ankles or shins instead of feet
- Keep your knees pointed toward your armpits
- Let your shoulders and neck rest on the ground
This change lets you open your hips and release your back without needing too much flexibility.
Half Happy Baby Pose
The half happy baby pose works one leg at a time. This focused stretch helps balance out differences between sides and gives you better stability while you build core strength.
Start by pulling one knee to your chest while your other leg stays flat on the floor. Hold the outside of your raised foot (or ankle/shin) and pull that knee toward your armpit. Take several breaths before switching sides. Most people can stretch deeper by working one side at a time.
Wall-supported Happy Baby
Wall support creates stability for beginners still learning balance. Place your hips close to a wall and put both legs up against it. Bend one knee at a time and grab your foot, ankle, or leg while keeping the other leg straight on the wall.
Your back won’t feel as much pressure this way, and you’ll learn proper alignment naturally. The wall support also turns this into a gentle inversion that helps blood flow.
Chair-supported version for limited mobility
A chair provides great support if you have substantially limited mobility. Rest your heels on a chair seat with knees bent at 90 degrees. Keep your thighs straight up and down while your lower back stays on the mat.
You can move the chair closer as you become more flexible. This chair-supported version lets people with mobility challenges get all the great stretching benefits of happy baby pose.
Happy Baby Pose is one of the most available and helpful positions in modern yoga practice. We’ve explored Ananda Balasana’s meaning, how to do it right, its benefits, what not to do, and ways to modify it. This simple-looking pose brings deep benefits to yoga practitioners at every level.
The pose works to stretch many muscle groups at once, especially when you have tight hips, hamstrings, and inner thighs. On top of that, it helps arrange your spine better, eases lower back tension, soothes your nervous system, and helps with pelvic floor health. These make Happy Baby Pose a great addition to any yoga routine. It’s perfect if you sit for long hours or have back pain.
The pose might look easy, but getting the details right matters by a lot. You need to keep your neck and shoulders loose, your lower back touching the mat, and hold your feet with the right pressure. Listen to your body’s limits to practice safely and make it work. Beginners can use straps, hold their feet differently, or use a wall for support until they become more flexible.
Happy Baby Pose shows us that yoga doesn’t need complex moves to help us feel better. Simple poses often bring the deepest benefits. New or experienced yogis should add this gentle but powerful pose to their practice. Your hips, spine, and nervous system will feel better when you embrace your inner happy baby.
Here are some FAQs about the happy baby yoga pose:
What is a happy baby yoga pose good for?
The happy baby yoga pose (happy baby pose yoga) is excellent for releasing tension in the hips and lower back. This gentle inversion helps stretch the inner groins and hamstrings while calming the nervous system (yoga happy baby pose). It’s particularly beneficial for relieving stress and improving spinal flexibility (happy baby yoga pose for beginners).
Why is it called a happy baby?
The pose gets its name from mimicking the natural position of content infants playing with their feet (happy baby pose yoga). Just like joyful babies, practitioners grab their feet while lying on their backs, rocking gently side to side (yoga pose happy baby). The open, carefree posture evokes the innocence and flexibility of childhood (happy baby yoga pose).
What yoga pose gets rid of trapped gas?
Happy baby pose (happy baby pose yoga for beginners) is one of the best yoga postures for relieving gas and bloating. The gentle compression of the abdomen combined with the hip-opening action helps release digestive discomfort (yoga happy baby pose). Other effective poses include wind-relieving pose (Pavanamuktasana) and seated forward folds (happy baby yoga pose).
What chakra is happy baby?
The happy baby pose (yoga pose happy baby) primarily activates and balances the second chakra, Svadhisthana (the sacral chakra). This hip-opening posture stimulates creative energy and emotional release associated with this energy center (happy baby pose yoga). The grounding aspect also connects with the root chakra for stability (happy baby yoga pose for beginners).
What is the best position to relieve trapped wind?
Happy baby pose (happy baby pose yoga) is among the most effective yoga positions for relieving trapped wind. The supine position with knees drawn toward the armpits creates gentle abdominal pressure to release gas (yoga happy baby pose). Combining this with slow, deep belly breathing enhances the digestive benefits (happy baby yoga pose for beginners).
What is a downward dog good for?
While happy baby pose (yoga pose happy baby) focuses on hip release, downward dog provides a full-body stretch. This fundamental pose strengthens arms and legs while lengthening the spine (happy baby pose yoga). It also improves circulation and builds shoulder stability, complementing the more restorative happy baby posture (happy baby yoga pose).
Who should not do a happy baby pose?
Individuals with recent hip or knee injuries should modify or avoid happy baby pose (happy baby pose yoga for beginners). Those with severe spinal issues or high blood pressure may need to skip this inversion (yoga happy baby pose). Pregnant women in later trimesters should consult their doctor before practicing (happy baby yoga pose).
What is the final resting pose at the end of a yoga practice called?
After poses like happy baby (yoga pose happy baby), the final relaxation is called Savasana or Corpse pose. This supine position allows complete integration of the practice’s benefits (happy baby pose yoga). While happy baby is active release, Savasana provides passive restoration (happy baby yoga pose for beginners).
Why is child pose difficult?
Unlike happy baby pose (happy baby pose yoga for beginners), child’s pose can challenge those with tight hips or knees. The deep flexion of these joints creates discomfort for inflexible practitioners (yoga happy baby pose). Some also find the forward fold restrictive for breathing compared to the more open happy baby position (happy baby yoga pose).
3 Responses